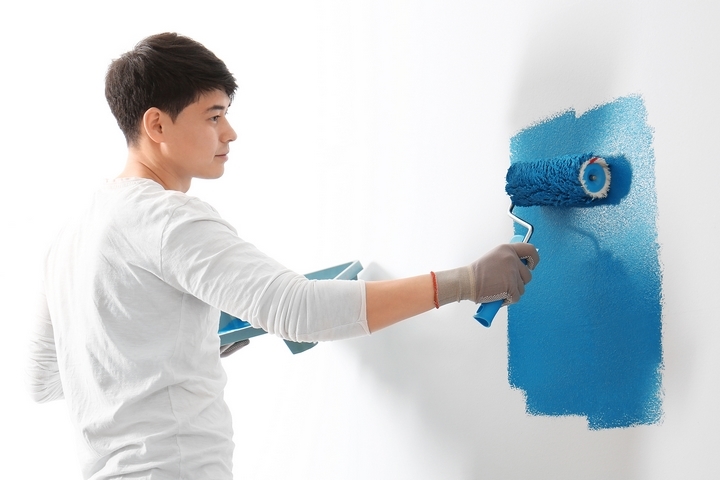
Painting a few walls is a quick and easy way to transform any room in your home. We all know that cool colours can make us feel more relaxed and at ease, while warm colours can incite us to feel joyful and dynamic.
Choosing the right colour for the walls you want to paint should be the first step of your painting project. It could be good to look for some decor inspiration online and get a few paint swatches at the store to better understand what different colours would look like in your home.
If you have never painted a wall before, you might be wondering what you should do next after choosing your paint colour. How much paint should you buy? Is there something you should do to prepare the walls before painting them?
Use these nine helpful tips about painting walls for beginners to guide you through the project:
Tip #1: Buy the right amount of paint

You don’t want to buy too much paint you will not need. To estimate how many gallons of paint you should get, calculate the square footage of the walls to be painted, multiply it by the number of coats to be applied, which is usually 2, and divide this number by 350.
You could use an online paint calculator to tell you how many gallons you should get for your project. You should know that if you want to paint a light colour over a wall that has previously been painted with a dark colour, you will also need to get a primer and apply one coat to the walls. This will help your chosen paint cover the dark colour.
Tip #2: Choose the right type of paint

Colour is not the only thing you have to choose. Most homeowners prefer acrylic or latex paint to oil paint, as it dries quickly, it’s durable, it’s easy to clean up, and it’s better for the environment.
As for the paint’s finish, keep in mind that a matte finish will help disguise wall imperfections, while a shiny finish will make imperfections more visible but will be much easier to clean.
Tip #3: Get the right tools

To paint your walls like a pro, you will need:
- Paintbrushes
- Roller and roller covers
- Paint tray
- Painter’s tape
- Paint scraper
- Spackling paste
- Putty knife
- Drop cloths
- Stepladder if your ceiling is high
- Old clothes you don’t mind getting paint on
Many of these items can be obtained in paint stores Kingston. The stores provide a vast catalogue of paints and equipment that will help your home improvement project.
Tip #4: Prepare the room before you start painting

Now that you have your paint and supplies, you must prepare the room. Remove everything hanging from the walls, including light switches and outlets, and remove the furniture from the room as much as possible. The furniture you can’t remove should be covered with drop cloths, and it could be a good idea to cover the floor as well.
Tip #5: Prepare the walls carefully

Before you start applying the first coat of paint, you must prepare your walls. Take a good look at them, and remove any nail or tape that might still be there. Use a paint scraper to remove any old paint that might be cracked or flaky, and sand down any imperfection with sandpaper. You should then fill any crack or hole with spackling paste and a putty knife. Let it dry, and sand down imperfections if necessary.
When this is done, you should wash your walls to ensure they are free of dust, oil, fingerprints, and cobwebs. Use water or a mild dish detergent, and let the walls dry. Next, use painter’s tape to cover baseboards, door and window casings, and everything else you don’t want paint on.
Tip #6: Start by painting along the edges and corners

Before you start rolling your roller in the paint, mix it well, then use a paintbrush to paint around the edges of each wall. You need to do this because your roller will not be able to reach these areas.
Paint around the holes of the outlets and light switches and along the tape covering your mouldings.
Tip #7: Use your roller in a W pattern

Next, pour paint into your paint tray, dip your roller, and roll it vertically on a wall. After a few rolls, come closer to the edges of the wall and blend in the paint on your roller with the one you applied with your paintbrush.
Use your roller in a W pattern to avoid roller marks, and dip it again in the paint whenever it gets dry.
Tip #8: Remove the painter’s tape at an angle

You should remove the tape while the paint is still wet. Pull it away from the walls at an angle to ensure you will not ruin your clean edges.
Tip #9: Clean your brushes and roller properly

At the end of your project, clean up your brushes, roller, and paint tray. If you have used latex paint, you can use soap and water. However, if you used oil paint, you would need some mineral oil to clean it up.


