Owning a vehicle is a pricey investment. There seems to be a never-ending list of tasks to maintain, from insurance to filling up gas. However, the decision to purchase a car is one that most of us will invest in. It mainly comes down to convenience, for a myriad of purposes like commuting or travelling.
The appearance of your car is also important. Over time, external factors may affect its visual appeal. When this occurs, you’ll have to take steps to give it a proper coating of paint. The paint restoration process gives your car a new lease on life.
When it comes to conducting this car painting process, follow these seven easy steps:
1. Gather Car Painting Materials

The first step in the car painting process is to gather all the necessary materials. For those of you who want to paint your car in your own space, you’ll need a few supplies first. They aren’t incredibly cumbersome to use; most will require a bit of manual labour. For starters, a power sander, air compressor, and primer will be needed. Don’t forget to decide on which paint to use, which could come in different formats such as acrylic.
Safety materials will also be required, to prevent harm to your body. Make sure you purchase a face mask and safety goggles, so that fumes do not affect your face. Once you have collected the necessities, it is time to get to work.
2. Pick a Safe Area for Painting

Painting your car in specific locations requires some brainstorming beforehand. If you live in a packed neighbourhood, you shouldn’t be painting the vehicle on your driveway. This is done to not only protect yourself, but others who are in the near vicinity. Stay away from painting in underground garages as well.
Tightly-enclosed areas are counterintuitive due to the lack of escape for paint fumes. Choose an area that has an open space, so that you have plenty of room to work with. Ventilation here is key, when it comes to managing this part of the process. Stay away from locations that may pose fire hazards as well!
3. Remove Dents

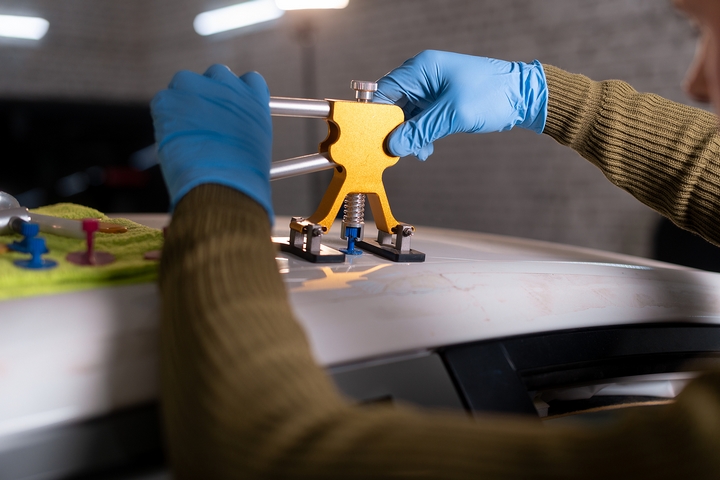
In order for your paint job to work effectively, it has to be applied on a car that is free from imperfections. If your vehicle has any visible dents or rust on the exterior, remove these first. This allows the paint to seal itself onto the car, while also making it look brand new.
There may be some scenarios in which there is also rust affecting your car. Or, you may even have some variation of plastic trim on the exterior. The key point here is to manually get rid of these blemishes in their entirety.
4. Sand & Clean the Car

Depending on your timeframe, this part of the process may be short or relatively long. If you have the time, however, a proper sanding of your vehicle should be conducted. Sand the entire car in a circular motion, all the way to the actual metallic parts of your vehicle.
Next, you’ll want to wipe down all the sanded spots with a clean rag. Your chosen rag should have some denatured alcohol applied to it, for an effective cleaning. If there are any areas you don’t want painted, use tape to cover over the designated surfaces.
5. The Priming Process

Before you get into the actual painting part of the process, it is always a good idea to prime your car. Prime the surface, and then allow it to cure on its own time. Depending on the corrosion-resistant primer you have chosen, some will cure differently than others.
Afterwards, give your vehicle another sanding, but be a bit more gentle this time. You don’t want to expose the metal exterior at this point in the process. Once this has been completed, give the surfaces a proper wipe down with another clean rag.
6. The Painting Process

Similar to primer, all types of paint will have different instructions depending on the manufacturer. As such, you’ll want to get familiar with them before moving ahead. Get a spray gun, and spray the paint onto the car’s surface. An effective spray is usually six inches away from the surface.
To fully paint the surface, you will usually require three or four coats of paint. While you are doing this, you must also consider drying time as well. For the most part, somewhere in the ballpark of twenty minutes to an hour will suffice.
7. The Buffing Process

When your car’s new coat of paint has successfully dried, add some buff to it. This allows your vehicle to have some gloss on the surface, furthering its visual aesthetic. Use circular motions when applying the buffing compound to complete the overall paintjob.
Although painting your car may seem like an arduous process, it isn’t. With enough patience, you’ll be able to give your vehicle the visual appeal it needs. Don’t be surprised to see some heads turning in admiration, while you’re on the road!


